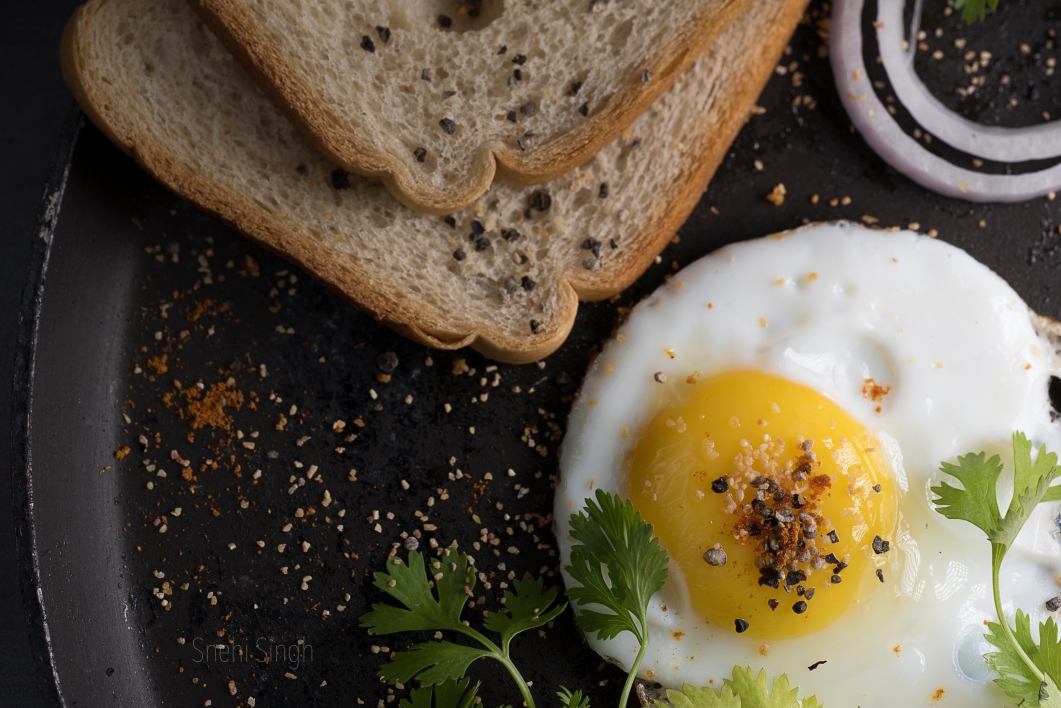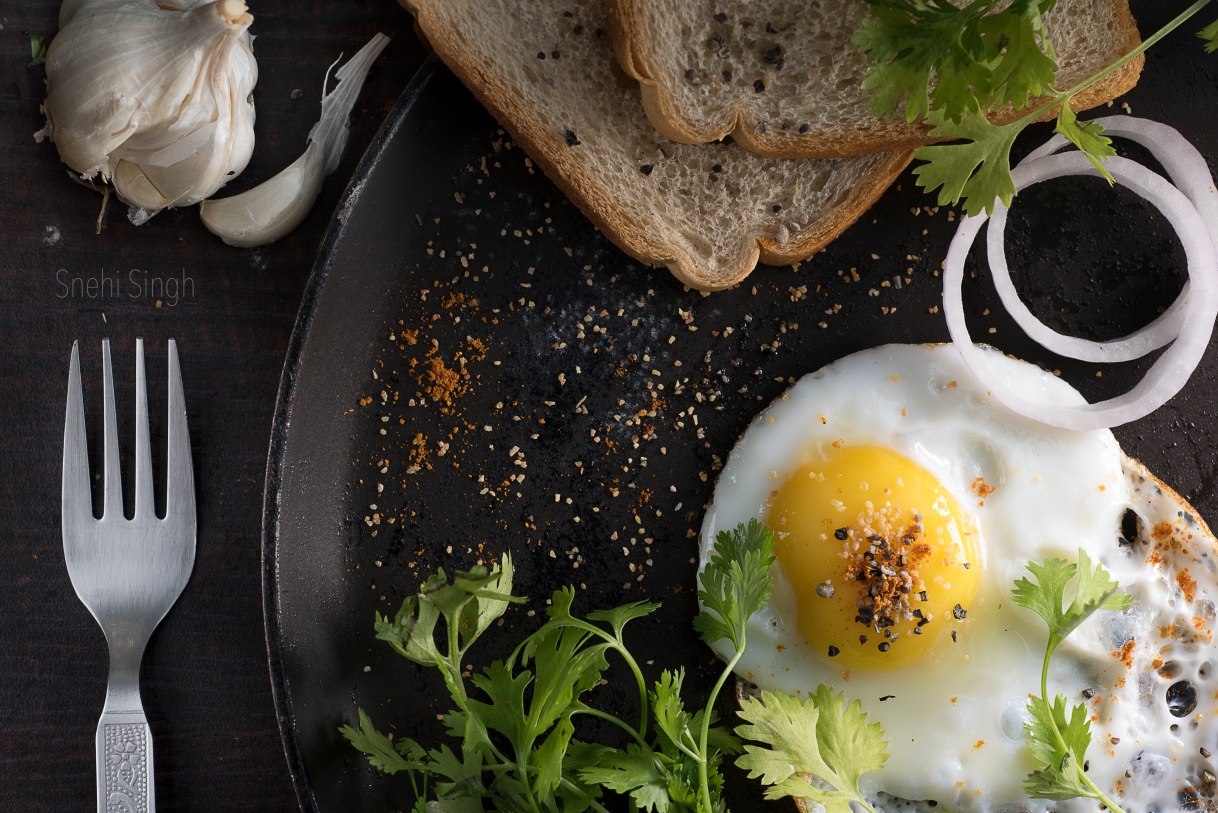
This is the third year of my undergraduate photography course and I had been asked to pick two specialisations I would like to pursue this final year.
I chose Food Photography and Travel Photography. Why?
I chose travel not only because I like to travel, explore, tell stories, and create memories; but because I think it is an emerging opportunity in India and there is a lot to it with a business perspective too.
Food, I had not tried much of it before, but it had always interested me. The challenges that it poses just makes it even more exciting than usual, boring studio work. ( No offence to studio people, it’s just my preference). The amount of attention to detail it requires is amazing and the end result could be highly satisfactory. And of course, it has a sturdy business market and would offer regular income in the future. So it’s also a safe wall for me.
Now, I am writing this post because like me, a lot of people might be just starting out with food photography and would have no idea how or where to begin. So, I will be posting regularly about my plans to shoot, my shopping hauls and stuff to help you about.
Before you start off, there are some very important things you should do:
- Read a lot of food blogs. Very important. Some blogs I found most helpful :http://foodphotographyblog.com
http://cookieandkate.comhttp://pinchofyum.comhttp://davidgriffen.co.uk/food-photography-blog
For inspiration, recipes and just hopeless admiration :
Starting with two of my personal heart melters –
And many other geniuses –
http://www.reclaimingprovincial.com
- And food photography books too, of course. You will find many of them online. I am currently reading Plate to Pixel : Digital Food Photography and Styling and Food Photography : From snapshots to Great Shots. (These are links to amazon.com, but you can find them on amazon.in too)
- Make a list of subjects you would like to shoot and keep a library of reference pictures. Though shooting by instinct or sudden inspirations is also cool 🙂
- Start collecting props and backgrounds and have a list of things you need to buy. A cool guide @ Food Photography Blog and Souvlaki For The Soul (You should follow his blog too, btw)
- Research and find out about thrift markets and textile stores and best grocery shopping sites around your area. (Pune has Juna Bazaar; I think most Indian cities have one. Crawford’s Market and Chor Bazaar of Bombay is also a great place to freak out! )
One day I suddenly felt like shooting something. Now it had been only 2 days into the semester and I had no props, no proper cutlery, none of those nice textured wooden backgrounds, nothing. So what could I possibly shoot?
Step 1 : Choose you subject
My friends were having half fry and bread for breakfast that day and I decided to take that as a subject. Easy to make after all. And the ingredients are easily available.
Step 2 : Look at reference pictures
Like, obviously. Generally that’s my first approach. Unless you imagined a frame in your mind while daydreaming about food porn and have to have to shoot it. (I do that, sometimes.)
Step 3 : Look around for available props
So I take a stroll through the house and decide that I have a fork and a pan to go with the egg. Well, that’s something.
And then I spotted this table that i used to put my props on. It was a plasticky thing, with fake wooden print on it. But since it was my best option; I took it.
Step 4: Look at the recipe and grab hold of the ingredients
Ingredients are very important to fill up compositions and help viewers to visualise the recipe. I picked up some coriander, garlic, pepper and bread from a nearby store.

Step 5 : Compose your shot
Take your time, look at your subject and decide how you would like to show it. I decided for a top shot since the half fry was flat and there wasn’t much to add dimensions. Also, I like to play with graphic designs and a top shot is a great idea for that. Make changes after one composition is done with, soot multiple frames.
Step 6 : Set up your lights
I prefer to shoot in natural light, though use external light sources when required. It was a dark cloudy day and the light wasn’t so good at all. So I used video LED lights that were just lying around thanks to the video work we do. These LED light sources are great with matte boxes and filters and stuff. They run on batteries, are light and easy to operate and give nice looking soft light. The one I used was Yongnuo YN-300 LED Video Light.
Step 7 : Shoot, Review, Improvise
Before adding the second light source, I tried using a white,silver and gold reflector and it wasn’t enough. I decided I hate gold reflector for food. It makes the food look yellow and stale. I like white/silver but it wasn’t enough. So then I added a second LED light.
Step 8 : Backup you data. Pack up your stuff.
General photography rule to follow. Data is sacred. Data is holy. Don’t lose it. DONT.
And then pack-up time!! 😀
Update : Tabitha Frankel suggested a really cool resource that would help you guys out!
ReviewLab has an in-depth guide for people who love to cook called the “Ultimate Cooking Resource Guide” (http://www.reviewlab.com/cooking-guide/)
This is how, I did my first food shoot. I hope you find it helpful and please, if you have any suggestions, I would LOVE to hear it from you.
And as always, Thanks for reading. (I am watching Vsauce videos side-by-side, so 😛 )
PS – Vsauce. He’s amazing. If you already don’t know. Check him out if you like to learn about random things XD
